Understanding the Basics of Ceiling Fan Light Replacement
Replacing the light on your ceiling fan is a straightforward task that can refresh the look and functionality of your room. First and foremost, it’s essential to gather all necessary tools and understand the basic steps involved. This guide aims to provide you with simple, clear instructions on how to successfully replace your ceiling fan light. Moreover, we’ll discuss safety precautions to ensure that you complete the process without any issues. By following this guide, you’ll not only save money on professional fees but also gain the satisfaction of accomplishing the task yourself. Additionally, we’ll touch upon troubleshooting common problems you might encounter during the process. So, whether you are looking to upgrade your current fan light or replace a malfunctioning one, this guide will equip you with all the knowledge you need to complete the job efficiently and safely.
Step-by-Step Guide to Replacing Your Ceiling Fan Light
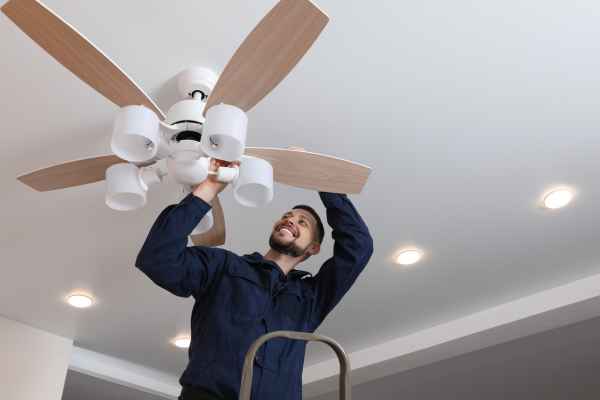
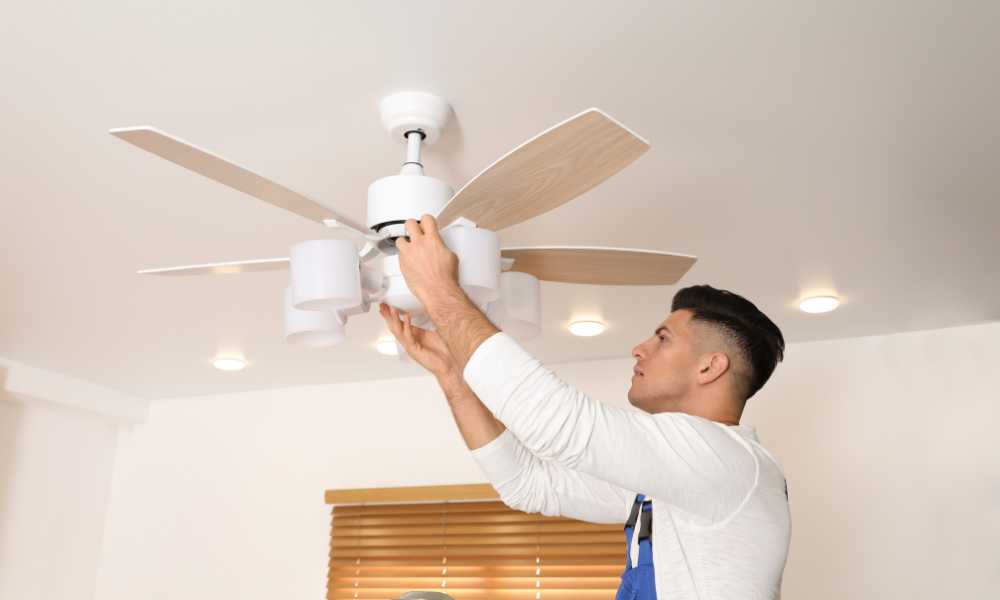
Firstly, gather your tools a ladder, a screwdriver, and the new light kit. Importantly, ensure safety by turning off the power at your home’s main circuit breaker. Set up your ladder securely under the ceiling fan. Subsequently, remove the light cover by unscrewing the fasteners. Next, detach the old light kit. You’ll find the wires connected with wire nuts; simply untwist these to disconnect. Afterward, prepare to install the new light kit. Match and connect the wires—usually black to black and white to white. Moreover, secure each connection with new wire nuts. Furthermore, attach the new light kit to the fan using the provided screws. Lastly, replace the light cover, secure it, turn the power back on, and test the new light to ensure it works correctly. This method will effectively replace your ceiling fan light, enhancing your room’s brightness.
Installing the New Ceiling Fan Light

Afterward, prepare your new light kit for installation by aligning the wires. Typically, you’ll match the black wire on the light kit to the black wire from the fan, and the white wire to the white. Securely twist on new wire nuts to ensure each connection is tight and safe. Next, position the new light fixture against the fan and fasten it with the screws provided. Ensure each screw is tight to avoid any wobbling or instability. Furthermore, carefully place the light cover back over the new fixture. Use the original fasteners to secure the cover in place, making sure it fits snugly without gaps. Lastly, restore the power at the circuit breaker and switch on the fan to test your new light. This should illuminate brightly, confirming a successful installation. By following these steps, you ensure a safe and effective setup of your new ceiling fan light.
Finalizing the Installation
After installing the new light kit, the next step is to reattach the light cover. Firstly, carefully position the cover over the new light kit. Ensure it aligns properly with the fixture. Subsequently, secure it by tightening the screws or clips that hold the cover in place. Make sure these are snug, as loose parts can lead to rattling or instability later. Next, clean any fingerprints or debris off the light cover and fan blades to ensure your ceiling fan looks its best. Furthermore, head back to your circuit breaker. Turn the power back on to test the new installation. Finally, flip the fan’s switch to verify that the light and fan operate smoothly. This confirmation is crucial as it ensures everything is in perfect working order. By completing these steps, you effectively finalize your ceiling fan light installation, enhancing both the function and aesthetics of your room.
Maintaining Your Ceiling Fan Light

To keep your ceiling fan light functioning optimally, regular maintenance is crucial. Firstly, ensure you routinely check the connections and tighten any loose screws, as vibrations from the fan can loosen them over time. Additionally, inspect the wire nuts occasionally to ensure they remain securely twisted and cover all exposed wires. Secondly, cleaning the light cover and fan blades can significantly improve light output and fan efficiency. Use a soft cloth to wipe away dust and debris. Moreover, if you notice any flickering or dimming of the light, check the bulb connections and replace bulbs as needed. Lastly, for LED lights, ensure the driver and connections are functioning correctly, as these can affect performance. By following these simple steps, you maintain not only the functionality but also the longevity of your ceiling fan light, keeping it bright and effective for years to come.
Conclusion
Replacing and maintaining the light in your ceiling fan is a straightforward process that can significantly enhance the ambiance and functionality of any room. By following the detailed steps outlined for removing the old light kit, installing a new one, and ensuring everything is securely fastened and connected, you can achieve professional-level results with just a bit of effort. Regular maintenance further ensures that your ceiling fan light continues to function efficiently and remains a reliable source of illumination. Whether you’re upgrading for aesthetic reasons or replacing a worn-out fixture, these simple yet effective guidelines will help you accomplish your goals with confidence and safety. Embrace the opportunity to improve your living space with this practical DIY project.
