It might be that your tiles got broken or you just want to change the old one. And you’re looking for the best article to get you into your business. Your search ends here, let’s get started. Ripping out old tile might seem like a hard task, but it’s actually a great DIY project that can completely change your space! Firstly you have to remove the tiles from the floor. This easy guide will equip you with all the information and steps you need to handle this project with confidence. From gathering the right tools to navigating stubborn tiles, we’ll guide you through the entire process, empowering you to remove those old tiles and pave the way for a stunning new look.
Safety First!

Before getting into our business, prioritizing your safety is the most important thing. Demolition work generates dust, flying debris, and sharp edges, all posing potential hazards. Fortunately, equipping yourself with the proper safety gear significantly reduces these risks and ensures a smooth, injury-free project.
Let’s break down the essential safety equipment and their roles:
- Safety Glasses: Your eyes aren’t replaceable, so shield them from flying shards and dust particles with a pair of close-fitting safety glasses. Recommended for wraparound styles for extra protection on the sides.
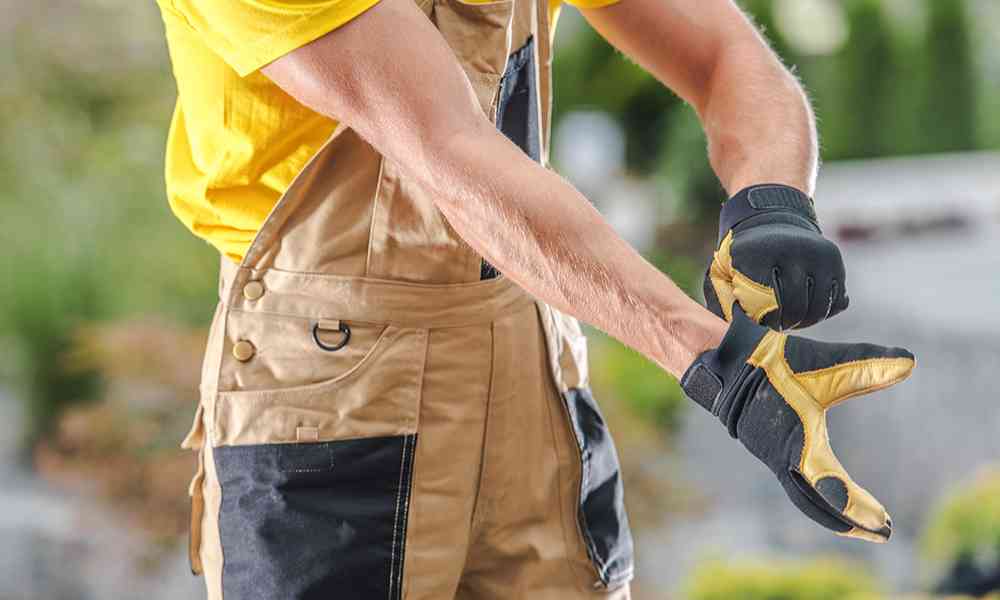
- Work Gloves: Protect your hands from cuts and scrapes with a pair of high quality work gloves. Choose a comfortable and breathable material that allows for good air flow while handling tools.
- Dust Mask: Dust masks safeguard your lungs from inhaling harmful dust particles created during demolition. Look for a mask rated for dust and particulates, such as an N95 respirator.
- Knee Pads: Tile removal often involves crouching for extended periods. Knee pads provide cushioning and comfort and minimizes strain on your joints.
- Hearing Protection: It’s not always necessary, using earplugs or earbuds or headphones can be a bit beneficial, especially when working with power tools like oscillating multi-tools, hammers or drills. They can reduce the impact of loud noises.
Remember, safety isn’t optional! Taking these simple steps allows you to work peacefully without worrying about potential injuries. So, suit up before you start chipping away, and enjoy a safe and productive tile removal experience!
Gather Tools to Remove Tiles From Floor

Once your safety is secured, it’s time to assemble your tile-removal battle plan! The right tools make all the difference in efficiency, minimizing damage and saving you some time. Here’s what you’ll need to remove those old tiles from floor:
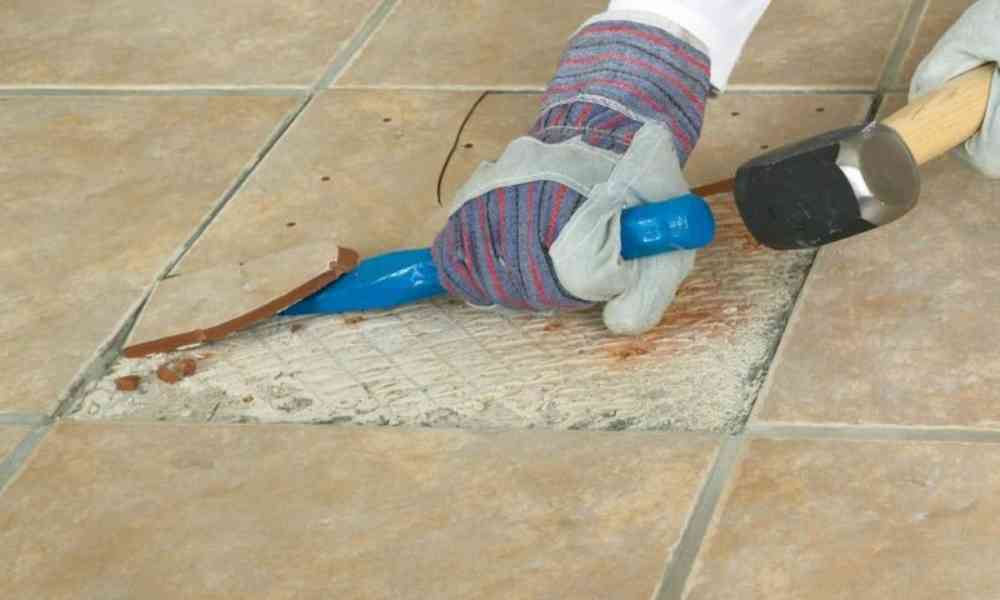
- Hammer and Chisel: This classic tool is the workhorse of tile removal. A sturdy hammer helps break apart grout and loosen tiles, while a sharp chisel provides leverage for prying them up. Choose a chisel size appropriate for the width of your grout lines.
- Pry Bar: A pry bar can be your partner for stubborn tiles that refuse to budge with the hammer and chisel. Its flat edge slides underneath the tile, creating leverage for prying it loose without damaging the subfloor below.
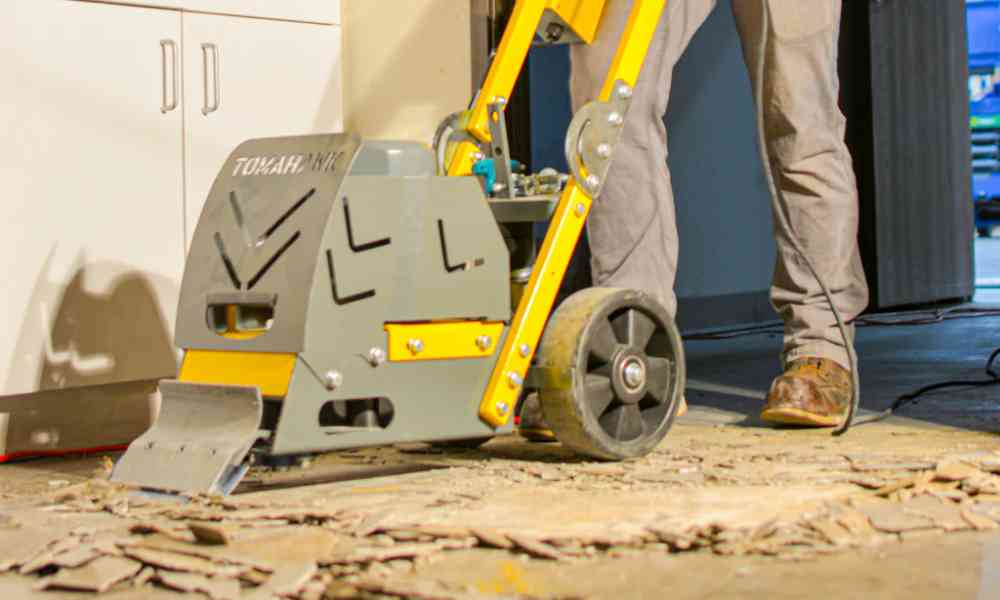
- Optional Power Tools: For tougher jobs or larger areas, consider using power tools like a heat gun or an oscillating multi-tool. A heat gun softens the resins or glue under the tiles, making prying easier. An oscillating multi-tool with a scraper blade can break through tough grout and adhesive.
- Drop Cloth and Trash Bags: Protect your surrounding area from dust and debris with a drop cloth. Have a trash bag on hand to collect dislodged tiles and debris for easy disposal.
With these tools by your side, you’re ready to remove tiles from floor!
Assess the Situation

Before you raise your hammer and chisel like a warrior, take a moment to assess the situation. Just like any good general understands the terrain before a battle, understanding your tile sure helps time saving removal. You’ll just need to consider some conditions.
Firstly, knowing the type of tile you’re dealing with (ceramic, porcelain or vinyl) will help decide the removal difficulty. Ceramic and porcelain tiles are typically harder to remove due to their hardness. Tiles set in thinset mortar are normally difficult to remove compared to those with a weaker adhesive.
Then inspect the tiles closely. Are they cracked, chipped, or loose somewhere? Damaged tiles are easier to remove and can often be pried up with minimal effort. On the other hand, you’ll need a bit more effort to remove undamaged tiles.
The condition of the grout also provides valuable clues. Hard, well-maintained grout makes a strong bond between the tiles and the subfloor, that makes a challenge in our process, where cracked or crumbling grout makes a weaker bond. But it helps to have a quite smoother removal process.
Knowing the subfloor material (concrete or plywood) is important. While concrete subfloors can handle aggressive removal techniques, soft subfloors like plywood require a careful approach to avoid any damage.
Remove Tiles by Chipping Them Away from Floor

For most tile removals, the hammer and chisel combo will be your main weapons. Put on your safety glasses and gloves for protection. Gently start by chipping away at the grout around the edges of a tile. Like an archaeologist, carefully remove the cement or thinset to create a small gap between the tile and its surroundings to make room for the chisel. Once you’ve created a good opening, place the chisel’s blade at a 45* angle under the edge of the tile. Apply pressure firmly hammering the chisel’s back to slowly pry the tile upwards. Be patient and take your time because too much force can easily crack surrounding tiles or damage the subfloor.
Use Machine to Remove Tough Tiles

Not all tiles are loose. You might encounter some tough tiles that refuse to be ripped off with your hammer and chisel. Don’t worry, there are ways to overcome this situation! For particularly tough jobs apply these tactics:
- Heat Up: A heat gun can be your secret weapon for sticky tiles. Heat loosens the glue holding the tile down. Apply heat in short bursts to a specific area, then carefully insert your chisel and pry again. Too much heat can crack tiles, so work in short bursts and be careful of the surrounding area.
- The Multi-Tool: An oscillating multi-tool with a scraper blade can be the west too in your tile removal project. This power tool breaks tough grout and adhesive with ease. Use a controlled sawing motion with the blade to cut through the hard gum around the perimeter of the tile. Once the bond gets weak, the tile should be pry with the chisel.
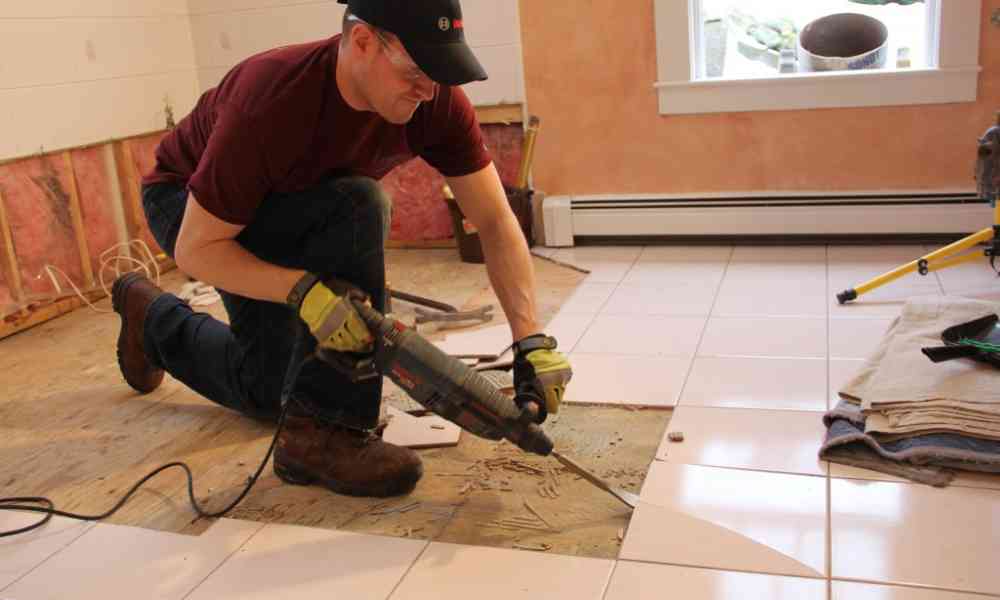
- Controlled Demolition: In extreme cases, where other techniques fail, you might need to apply more aggressive techniques. However, caution might happen! If you’re dealing with a large area of hard tiles, it might be best to consult a professional. For DIY warriors, a carefully controlled demolition hammer with the appropriate safety gear can break apart very hard tiles, but ensure you have a plan to remove the smaller pieces afterward and avoid damaging the subfloor in the process.
Cleaning Up
Lastly, it’s time to clean all the mess that we’ve made. Use a scraper to remove any remaining residue from the subfloor. Sweep up debris and dispose of it properly. Congratulations! You’ve successfully prepped your floor for its next chapter. Now you’ll need another article to install the new tiles. Click here to get started.
