A flat sheet is a fundamental component of a well-made bed, acting as a barrier between you and the heavier bedding. It plays a significant role in maintaining not only the aesthetics of your bed but also your overall sleep hygiene. Properly placing and tucking a flat sheet can transform your bed from a simple sleeping space into a luxurious and inviting retreat. This guide will walk you through every aspect of positioning a flat sheet, from preparation to finishing touches, ensuring that you achieve a polished, comfortable result every time.
Step-by-Step Instructions
1. Prepare Your Bed and Flat Sheet

- Clean Your Mattress: Before you even consider placing a sheet, it’s essential to start with a clean slate. A well-maintained mattress not only enhances the longevity of your bedding but also promotes a healthier sleeping environment. Use a vacuum with a hose attachment to remove dust and debris from the mattress surface. For deeper cleans, consider using a damp cloth or a gentle upholstery cleaner to spot clean any stains.
- Unfold the Flat Sheet: Lay your flat sheet on a flat surface, such as a clean floor or a large table, to help eliminate significant wrinkles before placing it on your bed. Smooth out any noticeable creases by running your hands over the fabric. For persistent wrinkles, a steamer or a low-heat iron can be employed, but ensure that the sheet is completely dry before placing it on the bed to avoid any dampness that might transfer to the mattress.
2. Align the Sheet with the Head of the Bed

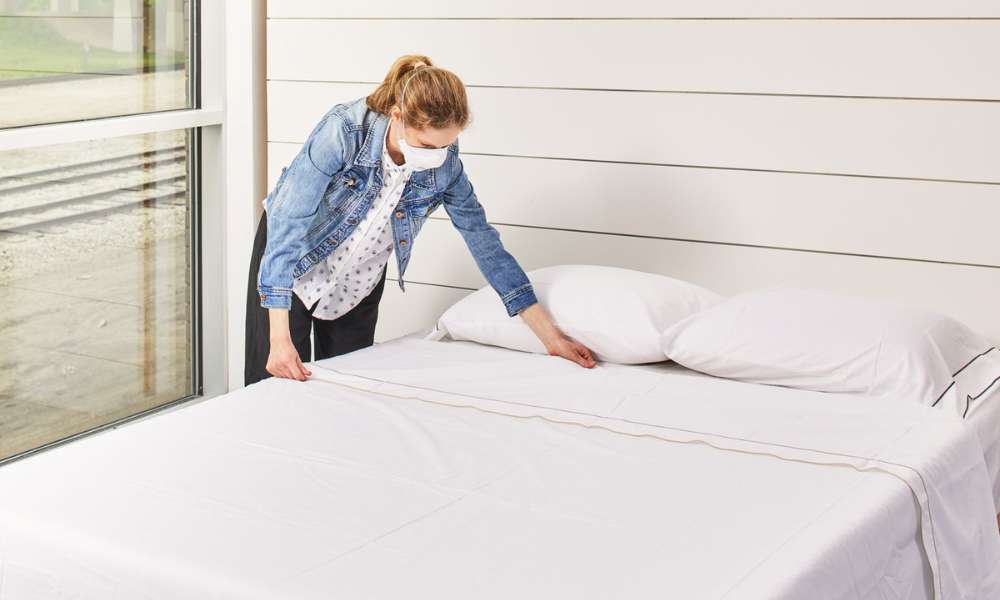
- Position the Sheet: Carefully place the flat sheet over the mattress so that it hangs evenly on both sides. This step is crucial as it determines how the sheet will lay once tucked in. The top edge of the sheet should be aligned with the head of the mattress, with equal lengths of fabric hanging down on either side. If you’re using patterned sheets, make sure they are aligned in a way that the design looks centered and symmetrical.
- Ensure Even Hanging: Take a moment to adjust the sheet so that it is evenly distributed. This will help avoid any bunching or unevenness once the sheet is tucked in. Pull the sheet down gently, smoothing it out as you go to ensure that it hangs uniformly on both sides and the foot of the bed.
3. Tuck the Sheet at the Foot and Sides

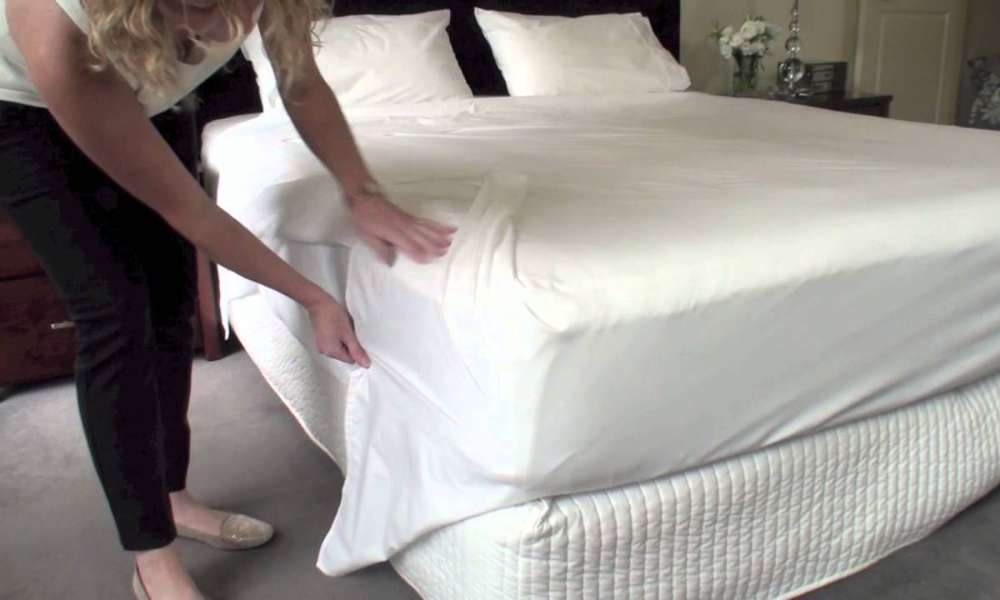
- Hospital Corners: This method is ideal for achieving a crisp, tailored look. Start by lifting the bottom edge of the sheet and tucking it snugly under the mattress. For the corners, lift the side of the sheet and create a diagonal fold by tucking it underneath the mattress. Then, fold the corner of the sheet over the diagonal fold, tucking it neatly. This technique secures the sheet firmly and prevents it from coming loose.
- Standard Tucks: For a more casual look, simply tuck the sheet under the mattress at the foot and sides. This method involves pulling the sheet taut and tucking the edges underneath the mattress. Ensure that the sheet is snug but not overly tight, which can cause discomfort or disrupt the sheet’s alignment.
4. Smooth Out Wrinkles

- Check for Wrinkles: After tucking in the sheet, it’s important to check for any remaining wrinkles. Gently run your hands over the sheet, smoothing out any creases or folds that might have formed during the tucking process.
- Adjust if Necessary: If you notice any areas where the sheet is bunched or uneven, carefully readjust it. Lift the sheet where necessary and smooth it out, ensuring a flat and smooth surface. This step not only improves the appearance of your bed but also enhances overall comfort.
Common Mistakes to Avoid

- Uneven Placement: One of the most common errors is uneven distribution of the sheet. This can lead to an unkempt appearance and uneven tucking. Always ensure that the sheet is evenly aligned with the edges of the mattress before tucking it in.
- Incorrect Tucking: Over-tucking can cause the sheet to bunch up or create uncomfortable lumps. Aim for a snug fit that doesn’t distort the sheet’s alignment. If the sheet is too tight, it may cause discomfort and affect the sheet’s longevity.
- Neglecting Wrinkles: Wrinkles can make the bed look untidy and can also affect comfort. Make sure to smooth out any wrinkles immediately after tucking the sheet to maintain a neat and comfortable surface.
Adjusting for Different Bed Sizes
Queen and King Beds:

- Extra Fabric: Larger beds require sheets that accommodate their size. If using a flat sheet on a queen or king-size bed, ensure you have enough fabric to cover the mattress fully. You might need to adjust the sheet’s placement or use extra-long sheets to prevent excessive bunching.
- Additional Tucking: For larger beds, additional tucking may be necessary. Ensure the sheet is securely tucked in to prevent it from coming loose or shifting, especially if the bed is frequently used or adjusted.
Full and Twin Beds:

Proper Fit: Smaller beds, such as full or twin, require sheets that fit snugly. Excess fabric can create an untidy appearance and may lead to discomfort. Use sheets that are appropriately sized and adjust the tucking to ensure a smooth and neat finish.
Non-Standard Sizes:
Custom Adjustments: For non-standard bed sizes, such as custom or oversized beds, consider using sheets with adjustable features or fitted sheets in conjunction with the flat sheet. Sheet clips can also be used to keep the sheet securely in place.
DIY Bed Making: Adding Style

Creative Arrangement:
- Color and Pattern Coordination: Enhance the visual appeal of your bed by selecting sheets that complement or contrast with your duvet cover, pillowcases, or throw blankets. Coordinate colors and patterns to create a cohesive and aesthetically pleasing look.
- Fancy Tucking: Experiment with decorative tucks or folds to give your bed a unique and stylish appearance. Techniques such as the French fold can add a touch of elegance and sophistication to your bed-making routine.
Incorporating Accessories:
Add Pillows and Throws: Incorporate decorative pillows and throws to complete the look of your bed. Choose accessories that match the color scheme of your bedding and add texture and warmth to the overall design.
Maintaining a Wrinkle-Free Bed
Preparation:
- Pre-Wash Sheets: Washing your sheets before placing them on the bed can help reduce initial wrinkles. Follow the care instructions on the sheet label for best results.
- Use Fabric Softener: A fabric softener or dryer sheets can help reduce wrinkles and add a fresh scent to your bedding. Ensure that the fabric softener is suitable for the type of sheet material you are using.
Additional Tips:
Immediate Placement: Place the sheet on the bed as soon as it is removed from the dryer to prevent wrinkles from setting. Smooth out the sheet as you place it to minimize the need for further adjustments.
Bed Hygiene and Maintenance
Proper Placement:
Avoid Dust and Allergens: Proper sheet placement helps prevent dust and allergens from accumulating on the mattress. Ensure the sheet covers the entire surface of the mattress and extends slightly over the edges to prevent exposure to dust.
Caring for Your Flat Sheet:
Regular Washing: Wash your flat sheets regularly to maintain cleanliness and freshness. Follow the manufacturer’s care instructions and use appropriate washing and drying methods to extend the lifespan of your sheets.
Benefits:
Better Sleep Hygiene: A clean and well-maintained bed contributes to better sleep hygiene, reducing the risk of allergies and enhancing overall comfort. Regular care ensures a healthier and more inviting sleeping environment.
Eco-Friendly Tips

Choosing Sustainable Sheets:
Material Options: Opt for sheets made from organic or sustainable materials, such as bamboo or organic cotton, to reduce your environmental footprint. Look for certifications such as GOTS (Global Organic Textile Standard) to ensure sustainability.
Efficient Placement Techniques:
Minimize Waste: Avoid unnecessary waste by using sheets that fit well and require fewer adjustments. Choose high-quality sheets that maintain their shape and appearance over time.
Sustainable Care:
Eco-Friendly Detergents: Use environmentally friendly detergents and wash in cold water to conserve energy and reduce the impact on the environment. Avoid harsh chemicals and opt for biodegradable products.
Adjustable Bases: Tips and Tricks

Preparation:
Adjust for Positions: When using an adjustable base, position the flat sheet to accommodate different angles and positions of the bed. Ensure that the sheet remains smooth and secure as the base adjusts.
Secure Placement:
Sheet Clips: Utilize sheet clips or fasteners to keep the sheet in place, especially if the base is frequently adjusted. These accessories help prevent the sheet from shifting or bunching.
Maintaining Smoothness:
Regular Adjustments: Periodically check and adjust the sheet as needed to ensure it remains smooth and secure. This is particularly important if you frequently change the position of the adjustable base.
Conclusion
Properly putting a flat sheet on your bed is a simple yet crucial task that significantly impacts the overall look and comfort of your sleeping space. By following the steps outlined in this guide, you can ensure that your bed is not only aesthetically pleasing but also comfortable and well-maintained. From aligning and tucking the sheet to maintaining a wrinkle-free and hygienic environment, these practices will help you achieve a beautifully made bed that enhances your daily rest. Embrace these techniques to create a bedroom that feels inviting and restful, and enjoy the benefits of a perfectly made bed.
