Probably you just got a new house or you just removed your old floor tiles and you want to install new tiles on the floor. But you don’t know how to do it. Don’t worry! Follow our steps to get the work done!
Before You Begin
- Choose your tile: Check out recommended factors like foot traffic, moisture exposure, and style first. By the way, ceramic, porcelain, and vinyl are popular options in our opinion.
- Measure the area: This helps you know exactly how much tile and materials you’ll need. Include extra tiles for cuts and waste. Typically 10-20% depending on the complexity of the floor.
- Prepare the subfloor: Level, clean, and dry the floor before we get started. Uneven floors leads to cracked tiles. Patch any holes or cracks.
Tools and Materials needed to install floor tiles
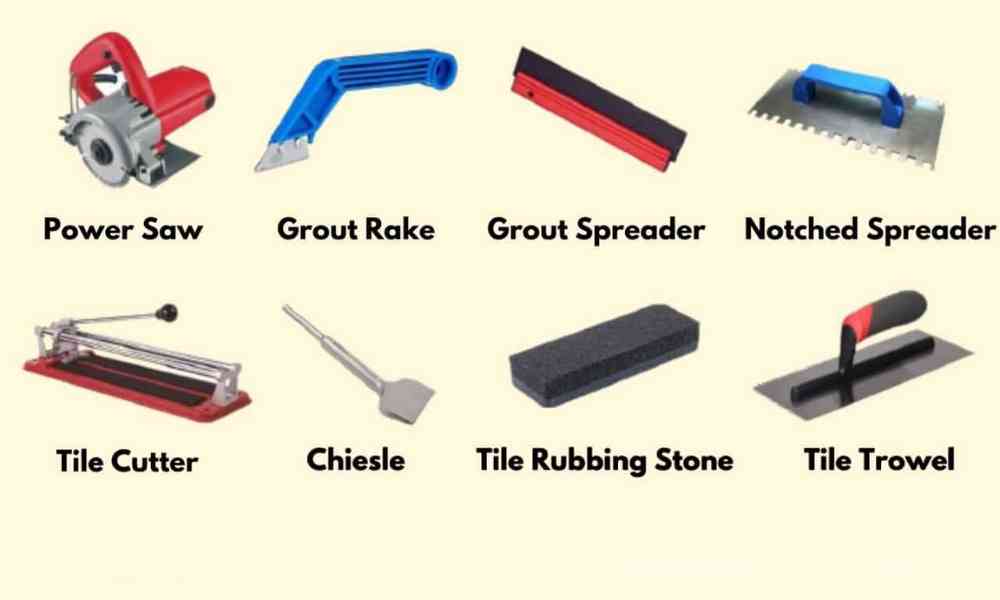
- Tiles
- Thinset mortar (adhesive)
- Tile spacers
- Notched trowel
- Rubber mallet
- Level
- Utility knife
- Tile cutter (manual or wet saw)
- Safety gear (gloves, goggles, knee pads)
Getting Down to Business
Plan the layout to install floor tiles
Planning your tile layout is the first step of a successful tiling project. It’s like meticulously plotting the course for a journey. A little effort here can surely save you a lot of headaches and wasted tiles down the road. Here’s where your creativity and problem-solving skills basically come into play. Grab some graph paper, a pencil, and a ruler. Now map out the selected area perfectly!

Dry-lay the tiles
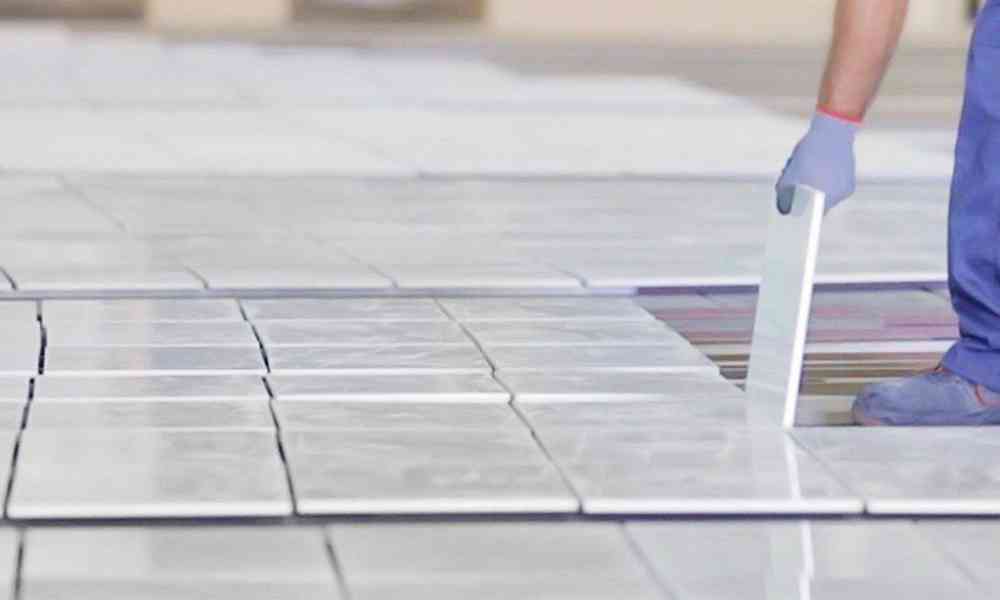
Once your masterpiece is planned on paper, it’s time for the dry-lay, a pre-installation meet and greet between tiles and subfloor. No messy mortar yet! Simply place tiles on the floor accordigly your layout sketch. It’s like a dress rehearsal for the final tiling performance. Assess where strategic cut tiles are needed and adjust as necessary. For instance, you might find a different starting point or a slight offset creates a more balanced look. Trust your eye and make adjustments on the fly. Use the dry-lay to check for fit issues and address them before moving on to mortar. This ensures a smooth tiling process later on, saving you time and frustration.
Mix the thinset mortar
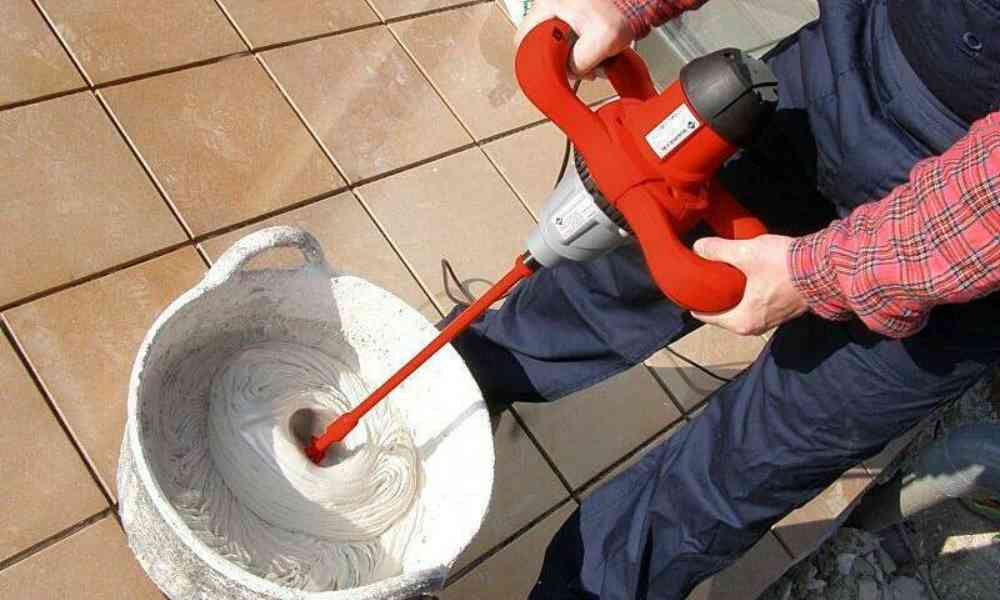
Once your tile layout is planned and visualized, it’s time to prep the mortar, the glue that holds everything together. Thinset mortar provides strength and stability for years to come. Follow the manufacturer’s instructions carefully, as water-to-powder ratios can vary. Mix cool, clean water with thinset powder in a clean bucket using a drill with a mixing paddle. Add water first, then slowly mix in the powder until you achieve a smooth, spreadable consistency. Avoid adding extra water, as this weakens the bond. When in doubt, opt for a slightly thicker mix and mix a bit longer. Following these steps ensures your thinset creates a strong foundation for your new floor.
Spread the thinset before install floor tiles
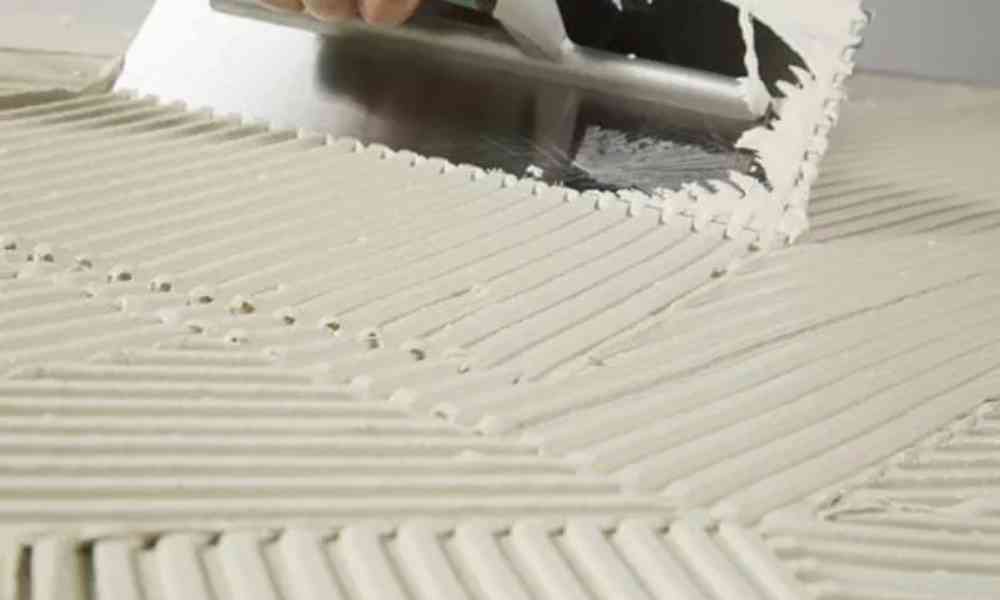
With your perfectly planned layout and trusty thinset mortar mixed to a smooth, spreadable consistency, you’re now ready for the moment of truth: applying the thinset to the subfloor. This stage sets the stage for laying the tiles, so let’s break it down!
Work in Sections
Thinset has a limited working time before it dries, so it’s best to tackle the floor in manageable sections. Start by estimating how many tiles you can comfortably lay before the thinset starts to set. A good rule of thumb is to spread enough thinset to cover an area slightly larger than a few tiles at a time.

Scoop and Spread
Grab your notched trowel. This is your tool for creating the perfect ridges in the thinset that ensure proper tile adhesion. Scoop out a manageable amount of thinset with the trowel and spread it evenly over the designated area of the subfloor. Maintain a consistent angle with the trowel as you spread, ensure the thinset reaches all corners and edges.
The Power of the Notch
Those ridges on your notched trowel are not only for decoration but also they play a vital role. As you press the tiles into the thinset, the ridges help to create air pockets and ensure complete coverage on the back of the tile. The size of the notches will depend on the size of your tiles, so consult the manufacturer’s recommendations for the ideal trowel notch size.
Comb and Check
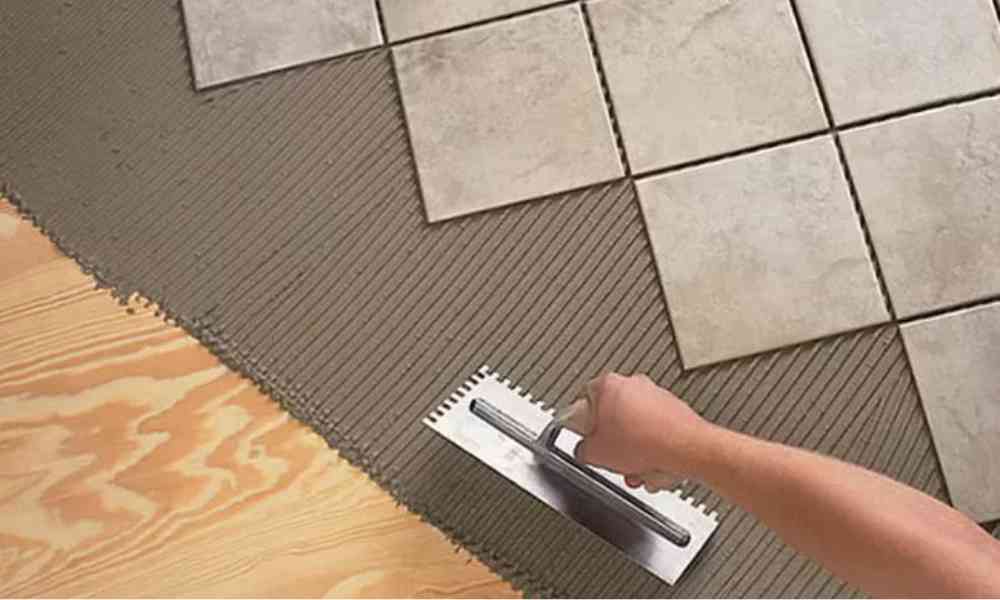
Once you’ve spread the thinset, use the notched edge of the trowel to create consistent ridges across the entire surface. Maintain a 45-degree angle as you comb, ensuring the ridges run in the same direction. After combing, take a quick moment to inspect your work. Is the thinset evenly spread? Are the ridges well-defined? If needed, make any adjustments before moving on to laying the tiles.
Set the tiles
With no talk let’s get to the point.
- Pick and Place: Carefully pick up a tile and position it gently onto the spread thinset. Start at your designated reference point, following your layout plan. Remember, you only have a limited window before the thinset starts to set, so work at a comfortable pace.
- The Power of the Twist: Don’t just plop the tile down! As you place it, give it a slight twist and also press down firmly to ensure good contact with the thinset ridges. Because this twisting motion helps to embed the tile properly and eliminate any air pockets that could weaken the bond.
- The Magic of Spacers: Those little tile spacers aren’t there to just keep you company. They play a crucial role in maintaining consistent grout lines between your tiles. As you place each tile, gently insert spacers on all sides. The thickness of the spacers will determine the width of your grout lines, so choose the size that best suits your design.
- The Level Check: Perfection is at first! After placing each tile, use a level to ensure it sits perfectly flat. Don’t be afraid to gently tap the tile with a rubber mallet to adjust its position if needed. However, maintaining a level surface throughout the entire installation is crucial for a professional-looking and functional floor.
- The Art of Consistency: Repeat steps 1-4, methodically laying each tile and maintaining consistent spacing with the help of your trusty spacers. Work your way through your planned layout, section by section, until the entire area is covered with beautiful tiles.
- Keeping an Eye on the Time: Remember, thinset has a limited working time. If you notice it starting to set and get stiff, stop laying tiles and mix a fresh batch of thinset for the next section.
Cutting tiles
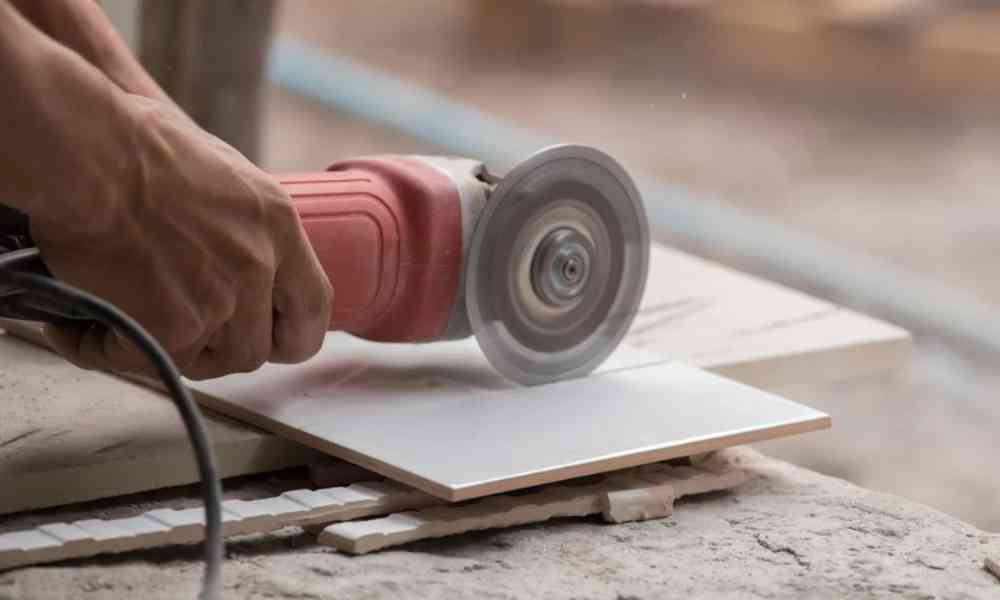
For edges and around fixtures, get a measurement of the are and then use a tile cutter or wet saw to make clean cuts according to the measurements. Measure carefully because any mismeasurements can cause you a time loss and tile wastage. Wear safety gear when cutting the tiles.
Let it set
Leave the thinset to dry completely according to the manufacturer’s recommendations. It’s approximately 24-48 hours.
Grouting
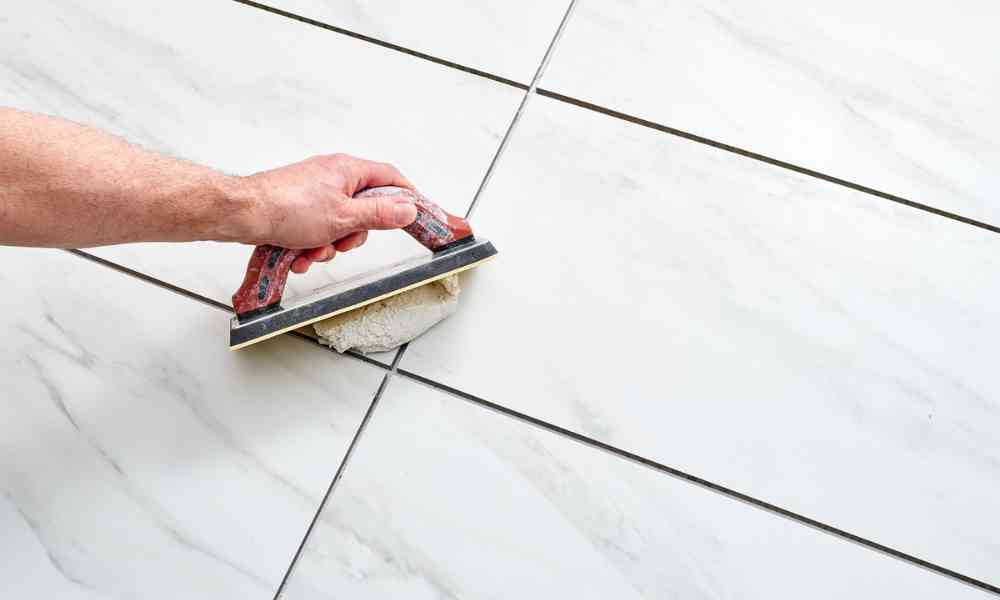
Once the thinset is completely dried, remove the spacers. Then mix and apply grout to the spaces between the tiles. Use a grout float to spread the grout diagonally and remove excess with a damp sponge. It’s the final step to install floor tiles
Seal the tiles
After the grout cures, apply a tile sealer to protect the tiles from stains and moisture. Though it’s optional, you can do it to take care of your tiles or if you have extra budget.
Pro Tips
- Work in small sections to avoid the thinset drying prematurely.
- Regularly check your level to ensure the tiles are being laid flat.
- Use a damp cloth to clean up any thinset or grout mishaps immediately.
- Take your time and don’t rush the process. A well-installed floor will last for years to come.
You can create a beautiful tiled floor that adds value and elegance to your home with careful planning and this guide at hand. Remember, a little patience and perseverance can lead to a big tiling accomplishment!
Installing floor tile may seem like a challenge, but with a bit of effort and this guide, you can achieve professional results. The satisfaction on your own of creating a beautiful and durable floor yourself is truly fascinating. So, grab your tools, unleash your creativity, and get ready to transform your space, one tile at a time!
