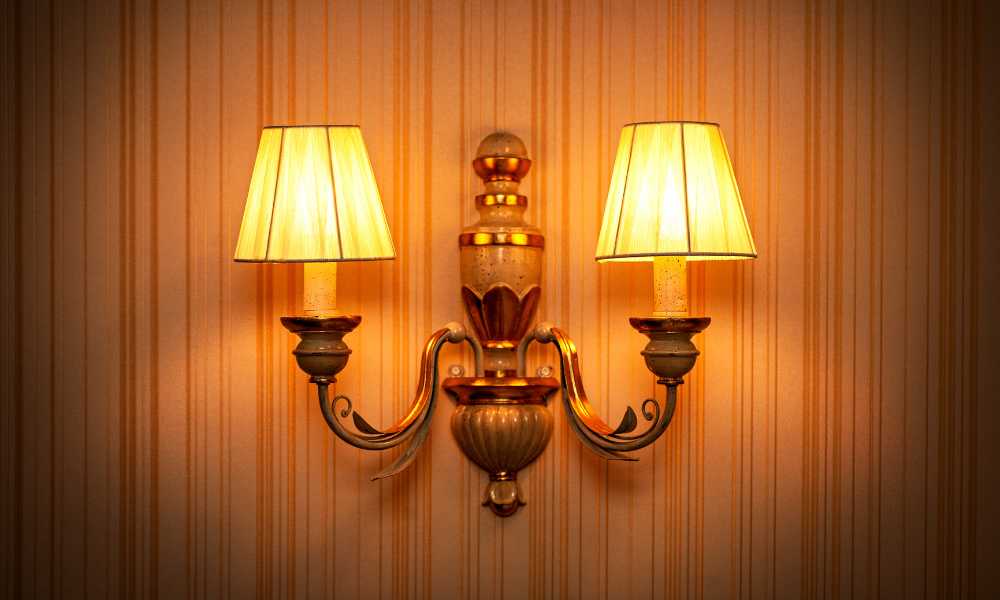
Wall sconces serve as more than just lighting fixtures they are key elements that enhance the overall decor and atmosphere of any room. Whether you’re looking to illuminate a dim hallway, add a soft glow to your bedroom, or create a welcoming ambiance in your living area, wall sconces are versatile solutions that cater to both aesthetic and functional needs. Designed this detailed guide to empower homeowners with the knowledge and confidence to install wall sconces themselves. From selecting the perfect spot and understanding wiring essentials to the final touches of bulb installation, we cover every step to ensure a successful and stylish addition to your home’s lighting ensemble. With practical tips and professional advice, this guide will help you navigate the process to hang sconces. This will enhance your home with beautiful and efficient sconces.
Materials Needed to hang sconces
- Wall sconces
- Drill
- Screwdriver
- Tape measure
- Level
- Wire strippers
- Electrical wire connectors
- Pencil
- Stud finder (optional)
Choose the Right Location to hang sconces

Selecting the ideal spot to hang wall sconces is crucial for both aesthetic and functional outcomes. First, think about the purpose of the lighting—whether it’s for reading, accenting artwork, or illuminating a hallway. Install sconces at eye level, about 60-66 inches from the floor. If you’re placing sconces beside a mirror or artwork, make sure you space them evenly and center them. Use a tape measure to determine exact placement and mark the spots with a pencil. This thoughtful placement will enhance the room’s ambiance and ensure the sconces serve their intended purpose effectively.
Check Electrical Connections on the location
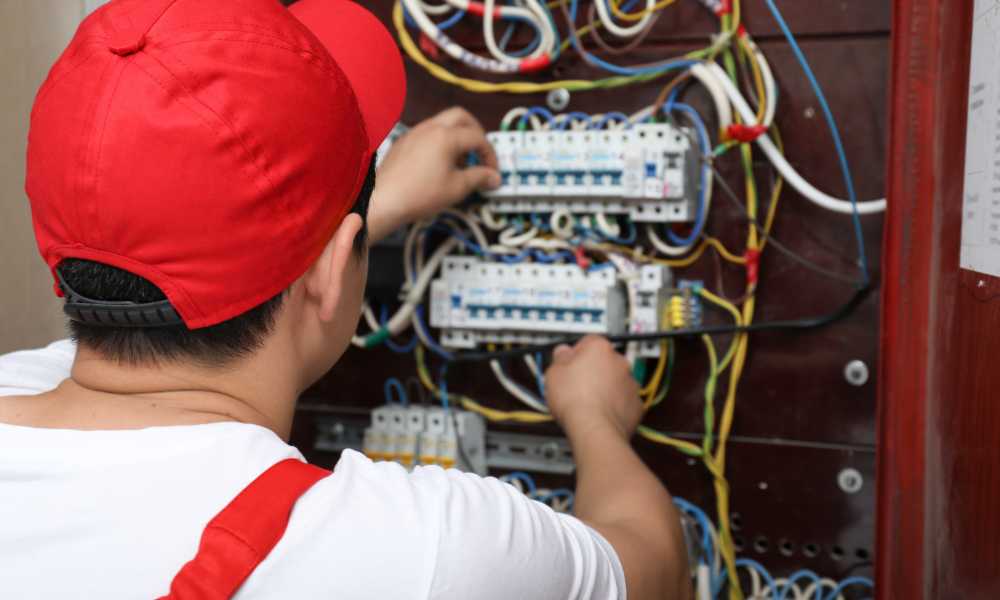
Before installing, verify that your chosen location has access to electrical power. If you have existing wiring from a previous fixture, you may be able to use it. otherwise, consider hiring a professional to install new wiring. This step ensures compliance with local electrical codes and enhances safety. Always turn off the power at the circuit breaker before starting work. Use a voltage tester to confirm the power is completely off. Proper preparation of the electrical connections is essential for a successful and safe installation of your new wall sconces.
Mark the Spot to hang sconces

Once you’ve chosen the ideal location to hang wall sconces, it’s time to mark the precise height and position on the wall. Typically, people place sconces about 60-66 inches from the floor, but you can adjust this based on room layout and personal preference. For installations next to features like mirrors or artwork, make sure to symmetrically align the sconces for a balanced look. Use a pencil to make your marks, checking with a level to ensure each mark is perfectly horizontal. This careful marking ensures that your sconces will be both functional and aesthetically pleasing once installed. Accurate markings are crucial for a professional-looking outcome.
Install the Mounting Bracket to the wall

With your spots precisely marked, it’s time to secure the mounting bracket to the wall, which will serve as the base for your sconce. Start by drilling holes at your marked points. If you’re drilling directly into a stud, you’ll be able to screw the bracket directly into the wood, which provides a very secure mount. If the location you’ve chosen lacks a stud, you’ll need to use wall anchors to securely fasten the bracket. Select the appropriate size and type of anchor for your wall material whether it’s drywall, plaster, or masonry.
Place the mounting bracket over the holes and line it up carefully with your markings. Use a screwdriver to attach the bracket with screws either directly into the stud or into the anchors you’ve installed. Make sure the bracket is firm and level an unsteady bracket can lead to a poorly aligned sconce that might not stay securely in place. This step is crucial for the structural integrity of the sconce installation, as the bracket must hold the weight of the sconce and withstand the routine interaction it may have when changing bulbs or cleaning.
Connect the Wires with power source
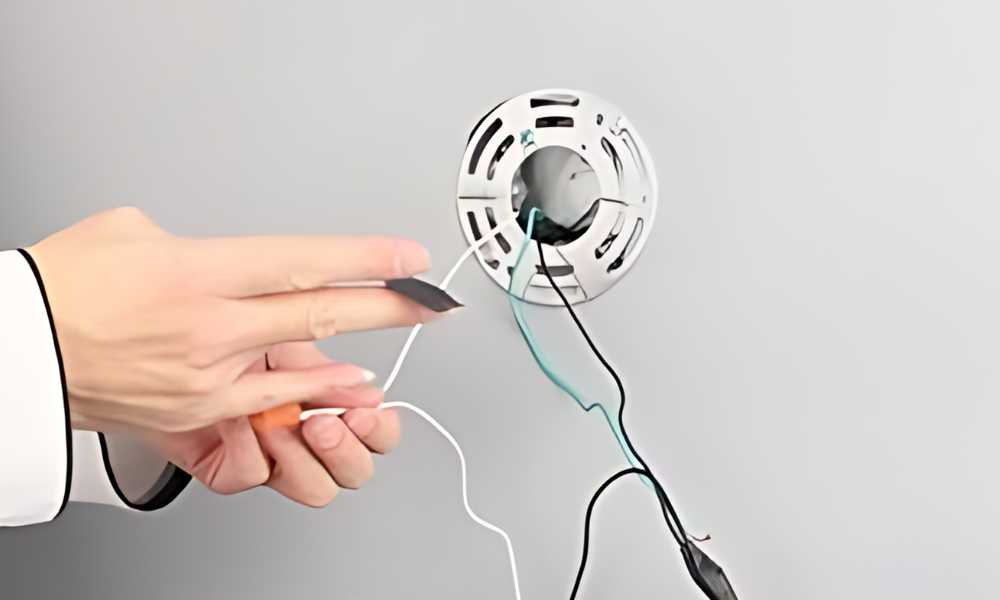
This step is critical and must be approached with caution. First, ensure that the power to the circuit you are working on is turned off at the circuit breaker. Double-check that the power is off by using a voltage tester at the wire ends where the sconce will be connected.
Begin by preparing the wires on the sconce and the wall for connection. If your sconce has a mounting plate, attach it to the bracket you installed earlier. Strip about half an inch of insulation from the ends of the wires using wire strippers, both on the sconce and in the wall, if they are not already prepared. Connect the wires using wire nuts typically, you will connect like colors together—black to black (hot), white to white (neutral), and the green or bare copper wire to the ground screw on the mounting bracket or the green ground wire. Ensure each connector is tight and secure by gently tugging on the wires to check they are firmly held by the wire nuts.
For added safety, wrap each connection with electrical tape to cover the wire nuts and a portion of the wires. This helps prevent the wires from touching each other or the metal parts of the fixture, which could cause a short circuit. Carefully tuck the connected wires into the electrical box or the space behind the sconce to avoid pinching them when you attach the fixture. Ensuring the connections are secure and safely insulated is paramount to the safe operation of your new sconces.
Attach the Sconce to the mount

With the wiring connections securely made, it’s time to attach the sconce to the mounting bracket. This step will vary slightly depending on the design of your sconce, so it’s important to follow any manufacturer-specific instructions provided. Generally, you will align the sconce with the mounting bracket and secure it using the screws or nuts that came with the fixture.
Hold the sconce against the bracket to ensure it fits properly and is positioned correctly. If your sconce has a decorative cover or faceplate, it typically goes on last, often securing the fixture to the bracket. Use a screwdriver to tighten these connections, but be careful not to overtighten, as this could damage the fixture or bracket.
Once secured, take a moment to step back and look at the sconce from different angles to ensure it’s straight and aligned properly with any other fixtures or elements in the room. A level can be used again here to make minor adjustments, ensuring the sconce is perfectly horizontal or vertical, as required by the design. This attention to detail will contribute to the overall aesthetic and functionality of the lighting in your space.
Add Bulbs and Restore Power
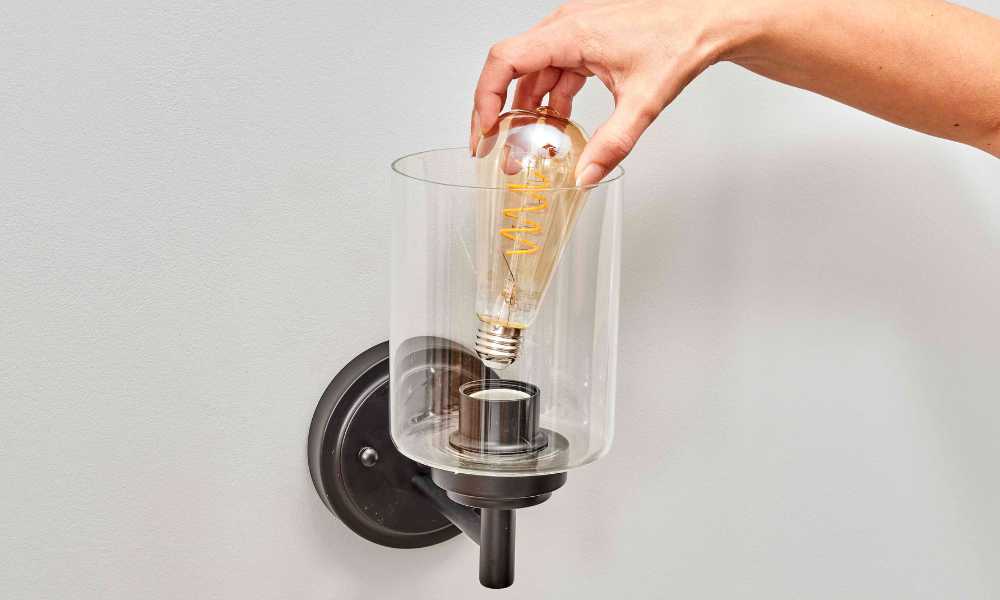
Now that your sconce is securely attached to the wall, the final step is to install the light bulbs. Before inserting the bulbs, ensure that they are the correct type and wattage as specified by your sconce’s manufacturer. This is crucial not only for achieving the desired lighting effect but also for preventing potential overheating or electrical issues.
Carefully screw in the bulbs, making sure they are snug but not overly tightened, as this could damage the bulb or socket. Once the bulbs are in place, you can restore power to the circuit. Head to your circuit breaker or fuse box and turn on the power for the area where you installed the sconce.
After powering the circuit, return to the room to test the sconce. Turn on the switch to see if the sconce lights up as expected. This is the moment to observe the function and quality of light provided by the sconce, ensuring it meets your needs and enhances the space as intended. If everything looks good, you can enjoy the new addition to your home’s decor and lighting.
This final step not only marks the completion of your installation project but also brings to life the functional and aesthetic benefits of your new wall sconces. Enjoy the improved ambiance and utility that your carefully chosen and expertly installed sconces bring to your home.
Conclusion
Installing wall sconces is a project that blends aesthetic upgrades with practical improvements, enhancing both the functionality and ambiance of your home. With the steps outlined in this guide, you’ve learned how to choose the ideal location for your sconces, prepare and connect electrical wiring safely, secure the mounting hardware, and ensure everything is aligned and functioning correctly. This DIY project not only adds to your home’s charm and warmth but also showcases your ability to customize your living space to better meet your lighting needs.
Remember, while the installation of wall sconces can often be a straightforward DIY task, the involvement of electrical components does pose risks. It’s crucial to prioritize safety by ensuring power is off during installation and consulting or hiring a professional electrician if you are unsure about the wiring or the electrical requirements of your fixtures.
Now that you’ve successfully installed your new lighting, take a moment to reflect on how this addition has transformed the space. Whether casting the perfect light in a cozy reading nook, illuminating a hallway, or adding symmetry to your bathroom vanity, your new sconces will surely enrich your daily living experience. Moreover, this project could increase the appeal and value of your home, showcasing your attention to detail and care for your living environment.
We hope this guide has empowered you with the knowledge and confidence to continue enhancing your home with personal and stylish touches. Enjoy the new look and feel that comes with your beautifully installed wall sconces, and consider what project you might tackle next in your journey to creating your perfect home environment.
