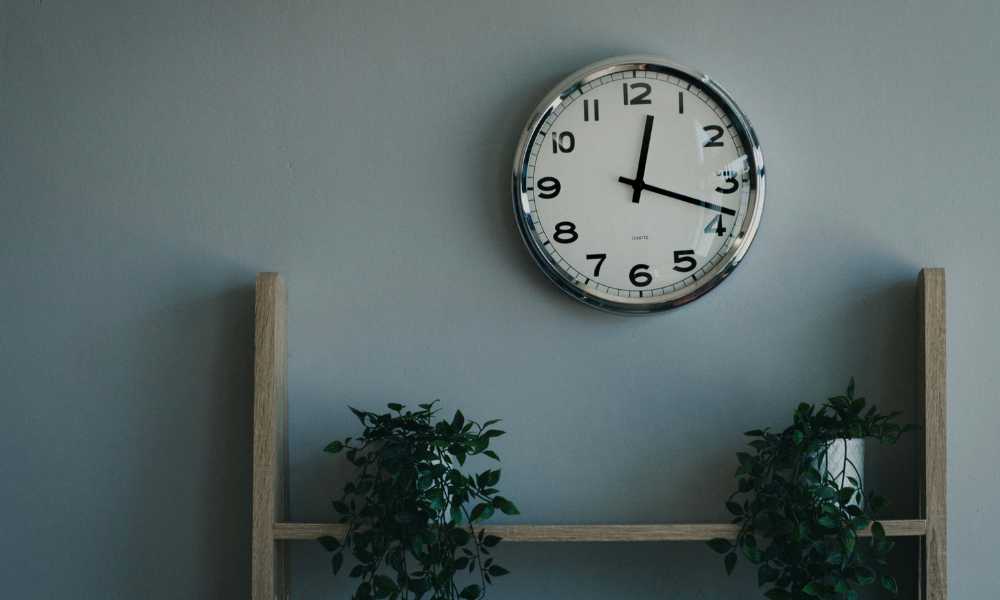
In homes and offices alike, a wall clock serves not only as a timekeeper but also as a key element of interior decor. Selecting and placing a wall clock involves more than just functionality. It’s about enhancing the room’s aesthetic and making a statement. Whether it’s a classic wooden piece exuding timeless elegance or a modern digital design adding contemporary flair, the right clock can elevate any space. However, proper placement is crucial for visibility and harmony with the room’s elements. Installation requires precision to ensure secure mounting. This guide covers every step, from selecting the ideal spot to final adjustments for perfect alignment. Whether you’re a DIY novice or seeking to refine your decorating skills, these clear instructions will help you achieve professional-looking installation effortlessly. Follow these steps to Carefully Hang your wall clock to the right place.
Choose the Right Location to Hang the Wall Clock

The placement of your wall clock is as crucial as its design, as it affects both its visibility and its aesthetic contribution to the room. When deciding on a location, consider the function of the space and the layout. A common practice is to hang the clock at eye level, which generally means positioning the center of the clock at about 5 feet from the floor. This height ensures that the clock can be easily read from various angles and distances without straining your neck.
Additionally, think about the flow of the room. The clock should be in a spot that is naturally visible but does not clutter the wall or compete with other focal points. For example, placing it above a fireplace or on a central wall in your living room can enhance the overall decor scheme. Avoid areas that are exposed to excessive sunlight or humidity, as these can damage the clock’s mechanism and its exterior over time. If your room has multiple windows or sources of light, consider the glare that might make it hard to see the clock face at certain times of the day. Taking the time to choose the right location will not only maximize the clock’s functionality but also integrate it seamlessly into your space’s design.
Gather Your Tools to Hang Your Wall Clock

Before you begin the installation process, it’s important to assemble all the necessary tools to ensure a smooth and efficient hanging. Here’s what you’ll need:
- Hammer: Essential for driving nails into the wall. Choose one that fits comfortably in your hand.
- Nail or Screw: This will depend on the size and weight of your clock. Nails can suffice for lighter clocks, while screws are better for heavier ones that require more support.
- Screwdriver: Needed if you opt to use screws. Make sure you have the correct head type for your screws (Phillips or flat-head).
- Drill: If you need to drill into studs or masonry, a drill will be necessary. Ensure you have the right drill bits for your wall type.
- Level: A crucial tool to ensure your clock hangs straight. Even a slightly slanted clock can disrupt the visual harmony of the room.
- Pencil: Use this to mark exactly where you will insert the nail or screw. This helps prevent mistakes and minimizes wall damage.
- Tape Measure: Helpful for finding the right height and ensuring the clock is centered in your chosen location.
Having these tools ready beforehand can make the process of hanging your clock much more straightforward. Each tool plays a role in securing the clock properly and ensuring it looks great once on the wall. Take a moment to familiarize yourself with each tool, especially if you’re using a drill, as proper handling is key to safe and effective use.
Mark the Spot to Hang the Wall Clock
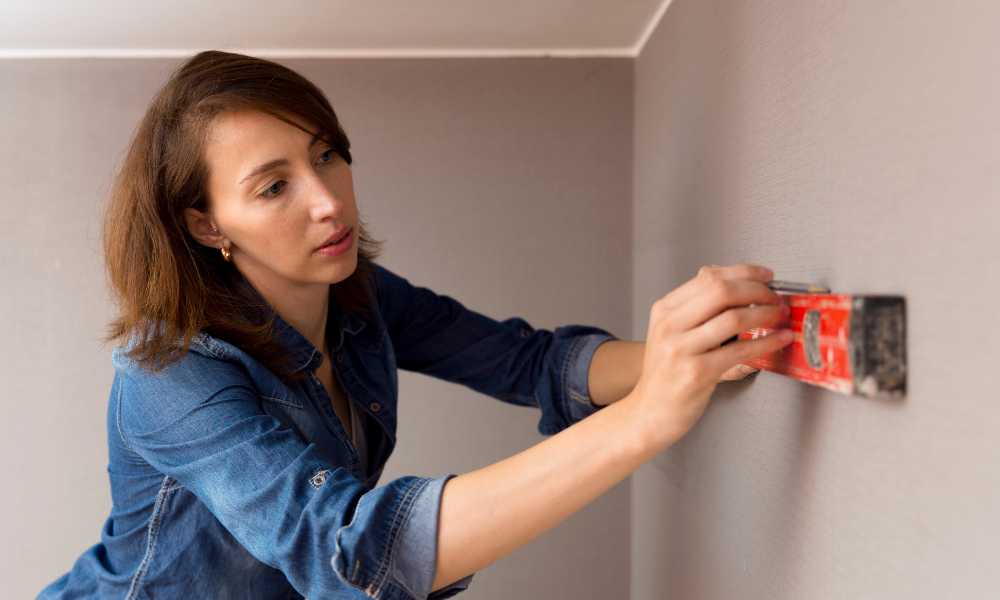
Accurate placement begins with precise marking. After you’ve decided on the perfect location for your wall clock, the next crucial step is to mark exactly where the nail or screw will go. This is a pivotal step that requires attention to detail to ensure that your clock is not only aesthetically pleasing but also securely attached to the wall.
Using a pencil, lightly mark the spot on the wall where the top of the clock’s hanging mechanism will align. If your clock has a specific hanging bracket or a set of keyholes, measure the distance between the bracket’s top and the center of the clock to ensure it will hang at the desired height. This small step helps prevent unnecessary holes and adjustments later.
If your clock is heavy, locating a stud within the wall to anchor the screw is essential for providing additional support and stability. A stud finder can be invaluable here, allowing you to easily locate the wooden frames behind the drywall. Simply run the stud finder along the wall and mark the edges of any studs detected. Choose the most central stud in your desired hanging area for the best support. If no studs are available, wall anchors may be necessary to prevent the wall material from failing under the clock’s weight. Remember, the right preparation here ensures your clock will hang securely and remain a lasting part of your room’s decor.
Secure the Hardware
Once you have your location marked, it’s time to secure the hardware that will hold your wall clock in place. Properly securing the hardware is crucial to ensure that your wall clock stays firmly in place. Whether you’re using a nail or a screw, here’s how to do it effectively:
For lighter clocks (using a nail):
- Choose a sturdy nail that’s appropriate for the weight of your clock.
- Position the nail at the marked spot on your wall, angling it slightly upward. This angle helps leverage the weight of the clock and prevents the nail from loosening.
- Gently tap the nail into the wall with your hammer, leaving enough exposed to hang the clock securely.
For heavier clocks (using a screw):
- Select a screw that can sufficiently support the weight of your clock.
- Use a drill to create a pilot hole at your pencil mark. The pilot hole should be slightly smaller than the diameter of the screw to ensure a snug fit.
- If hanging on drywall and no stud is available, insert a wall anchor into the pilot hole for added stability.
- Drive the screw into the pilot hole with a screwdriver or drill, leaving about half an inch exposed for hanging.
Additional tips:
- Double-check that the hardware is securely attached by gently pulling on it. There should be no movement if it’s installed correctly.
- For clocks with specific hanging mechanisms, such as brackets or keyholes, ensure the hardware aligns perfectly with these features for a stable hang.
This approach guarantees that your wall clock is not only aesthetically pleasing but also securely fastened to the wall, ensuring stability and safety in your home.
Hang the Wall Clock
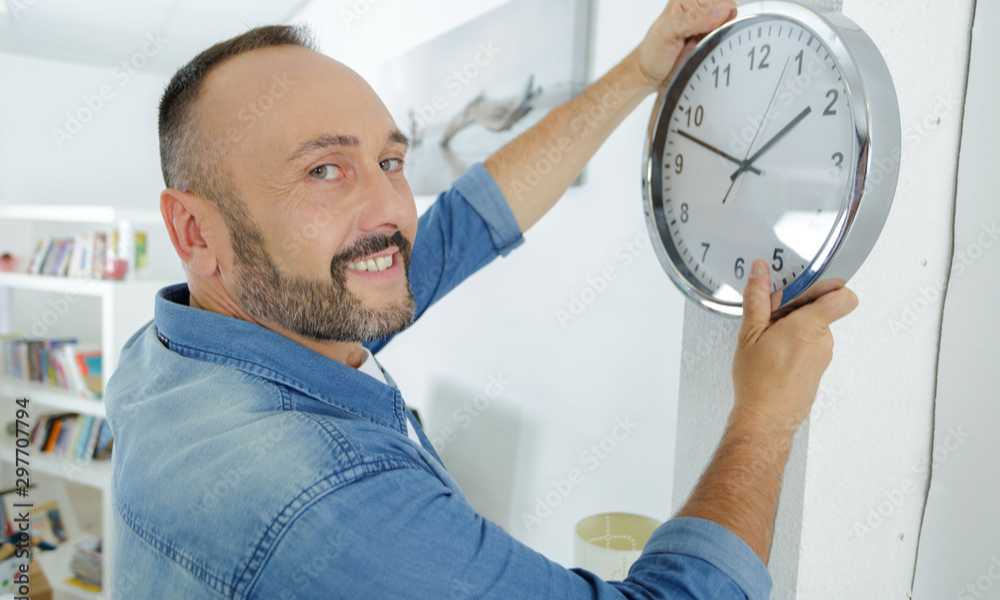
With the hardware securely in place, it’s time to actually hang the clock. This step is crucial for ensuring the clock is stable and aligned correctly on your wall.
Gently lift the clock and position the hanging mechanism (such as a keyhole, bracket, or wire) onto the nail or screw you’ve secured in the wall. Make sure that it sits comfortably and is not at risk of slipping off. It’s important to do this carefully to avoid damaging the clock or scratching the wall.
Once the clock is hanging, take a step back to check its placement. Look at it from different angles in the room to ensure it is visually appealing from all sides. This is also the time to use your level. Place the level on top of the clock, if possible, to check that it is not tilting to one side. Adjust the clock slightly until the bubble in the level is centered, indicating that the clock is perfectly horizontal.
This attention to detail not only ensures that your clock will function correctly by hanging straight (which is particularly important for pendulum clocks), but also adds to the room’s overall aesthetics. A crooked clock can be a visual distraction, so taking the extra minute to ensure it’s level can make a big difference in the look and feel of the space.
By now, your clock should be securely hanging on the wall, straight and stable, ready to be admired and to keep time in your chosen setting.
Set the Time and Enjoy
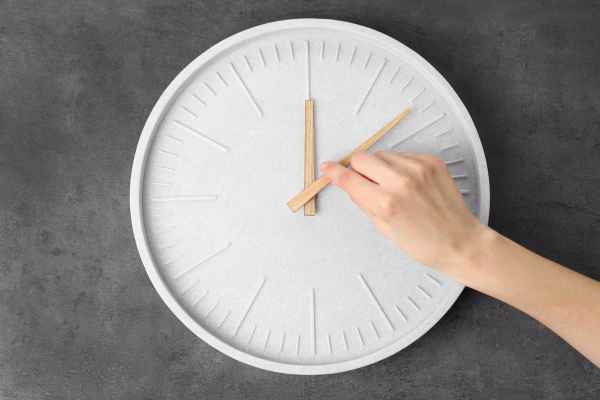
Now that your wall clock is securely hung and perfectly aligned, the final step is to set the time. This might seem like a minor detail, but it’s the moment your wall clock transitions from a piece of decor to a functional part of your daily life. Rotate the minute hand slowly to the correct time, or if your clock has a digital mechanism, use the appropriate buttons to set the time. Be gentle with mechanical clocks to avoid damaging the movement.
Once the time is set, take a moment to step back and appreciate your work. Your new clock is not just a way to keep track of time it’s a statement piece that adds charm and character to your room. It reflects your style and enhances the space, all while serving a practical purpose.
Enjoy the rhythm and presence of your new timepiece. Whether it’s the gentle ticking sound that brings a sense of calm and order, or the chime that marks the passing of time, a well-placed wall clock can be a comforting and unifying element in your home. Celebrate this addition by possibly hosting a small gathering in your space or simply relaxing in your newly refreshed environment. Your wall clock is now not just a functional device, but a centerpiece that draws eyes and compliments.
Tips for Success
Hanging a wall clock securely and attractively involves more than just finding the right spot. Here are some essential tips to ensure success:
Choose the Correct Wall Anchors: For heavy or large clocks, use wall anchors suited to your wall type toggle bolts for hollow walls and masonry anchors for concrete or brick. These anchors help distribute the clock’s weight evenly and prevent wall damage.
Consider Wall Material: Tailor your approach based on the wall. Use a stud finder for drywall to locate studs which provide extra support. For masonry, employ a masonry drill bit and screws designed for concrete or brick.
Inspect the Hanging Mechanism: Check the clock’s hanging mechanism thoroughly. It should be robust enough to support the clock without risk of failure. Make sure it is compatible with the type of hardware you’re using (hook, wire, bracket).
Mind Environmental Factors: Avoid placing your clock in direct sunlight, extreme temperatures, or high humidity, which can impair functionality and alter appearance over time.
Use a Level for Precision: Always use a level to ensure the clock is perfectly horizontal. This prevents the visual discomfort of a slanted clock and is crucial for the proper functioning of pendulum clocks.
Safety First: Prioritize safety when using tools. Wear protective eyewear to guard against flying particles, and keep your work area clear of any unnecessary objects that could pose a hazard.
Following these tips will not only ensure your clock hangs securely but will also enhance its functionality and integration into your overall room décor. A well-placed clock adds both elegance and practicality, serving as a reliable timepiece and a focal point in your space.
Conclusion
It’s more than just a functional task to hang a wall clock. It’s an opportunity to enhance the aesthetic appeal and ambiance of your space. By following the steps in this guide, your clock becomes both an accurate timekeeper and a striking decorative element. It complements your home or office decor.
Remember, the key to a successful installation is preparation. Choose the right location, gather the appropriate tools, and take the time to secure everything properly. Follow this guide for an accurate, stylish clock. It complements your decor beautifully
Enjoy the new addition to your room, and take pride in knowing that you’ve installed it perfectly. A well-placed wall clock can bring rhythm, character, and a sense of home to any space. Whether it’s marking the passing of time with a gentle tick or chiming on the hour, your wall clock is now ready to be both admired and utilized.
