Discover how to clean your Bissell vacuum cleaner with our comprehensive guide. This step-by-step article provides clear instructions on how to clean and care for every part of your vacuum cleaner, from emptying the dust bin and washing filters to checking the brush roll and wiping down the exterior. Learn essential tips to keep your vacuum running efficiently and extend its lifespan, ensuring a cleaner, healthier home environment. Perfect for Bissell vacuum owners looking to optimize their cleaning routine!
Step 1: Gather Your Cleaning Supplies
Before you start, make sure you have everything you need. This includes:
- A soft brush
- A microfiber cloth
- Scissors or a seam ripper
- A screwdriver (if necessary)
- A mild detergent
- Warm water

Step 2: Unplug The Bissell Vacuum Cleaner to Clean it
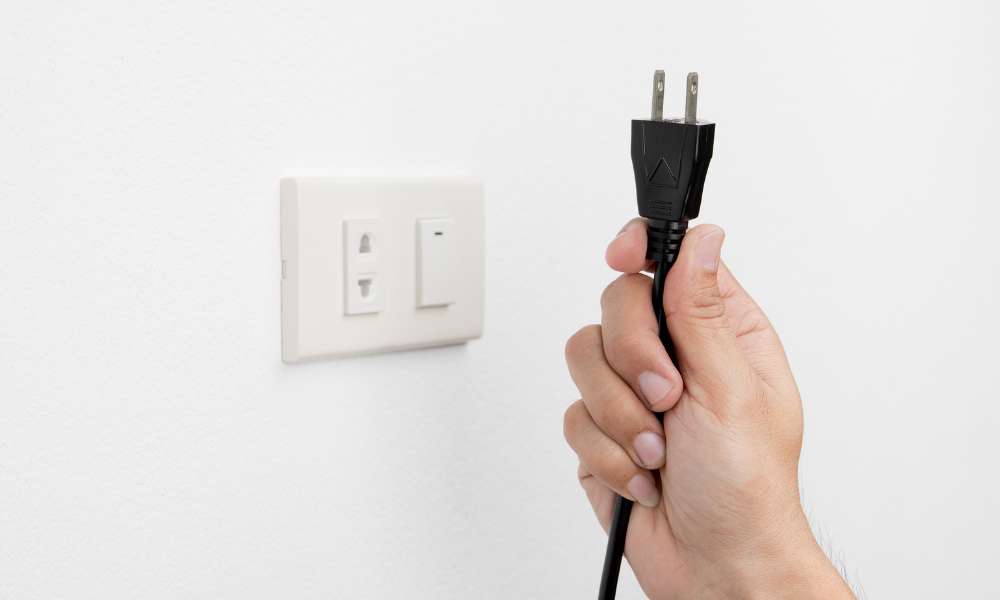
Before you start clean your bissell vacuum cleaner, safety is paramount. Always disconnect your bissell vacuum cleaner from the power source before starting to clean it. This crucial step prevents the vacuum from accidentally turning on while you’re working on it, which could lead to injuries or damage to the machine. Simply unplug the vacuum from the wall outlet. It’s also a good practice to use this time to check the power cord for any damage, such as frays or cuts. Above all, don’t use a vacuum cleaner with a damaged cable. After unplugging, gather all your cleaning supplies and prepare to move on to the next step, ensuring a safe and efficient cleaning session.

Step 3: Empty the Dust Bin of Your Bissell Vacuum Cleaner
Meanwhile the next step in maintaining your Bissell vacuum cleaner is to empty the dust bin, which collects all the dirt and debris. Firstly, remove the dust bin from the vacuum’s main body. Most models feature a simple release mechanism for easy detachment. Then carry the dust bin to a trash can, ideally outside, to prevent dust from reentering your home. Over the trash, open the bottom trap door or the top lid of the bin, depending on the design of your model, to empty it thoroughly. Gently tap the sides to dislodge any stuck particles. Regularly emptying the bin enhances the vacuum’s suction and prevents dirt buildup that can clog filters and reduce efficiency. After emptying, wash the bin if possible, or wipe it down before proceeding to clean other vacuum components.
Step 4: Clean the Filters of Your Bissell Vacuum Cleaner
Maintaining the filters is a critical step in keeping your Bissell vacuum cleaner running efficiently. Start by locating the filters; most Bissell models include multiple types:
- Foam filters: Remove these filters and gently rinse them under warm water. Keep washing until the water runs clear. This indicates most of the debris is cleared out. Squeeze out excess water gently—avoid wringing, as this could damage the foam. Lay the filters on a clean towel to air dry completely. Ensuring they are fully dry before reinserting them into the vacuum.
- Pleated filters: Don’t wash these filters with water unless explicitly stated in your model’s user manual. Instead, remove the filter and tap it over a trash can to dislodge loose dirt. You can also use a soft brush to carefully clean between the pleats. This helps to remove fine dust particles that can hinder airflow and reduce suction efficiency.
Always check your vacuum’s manual for specific care instructions for each filter type. Replace the filter when it isn’t usable anymore. It depends on their condition and the frequency of vacuum use. Proper filter maintenance ensures optimal air flow and keeps the vacuum’s suction power at its best. Which is also essential for effective cleaning.
Step 5: Check and Clean the Brush Roll
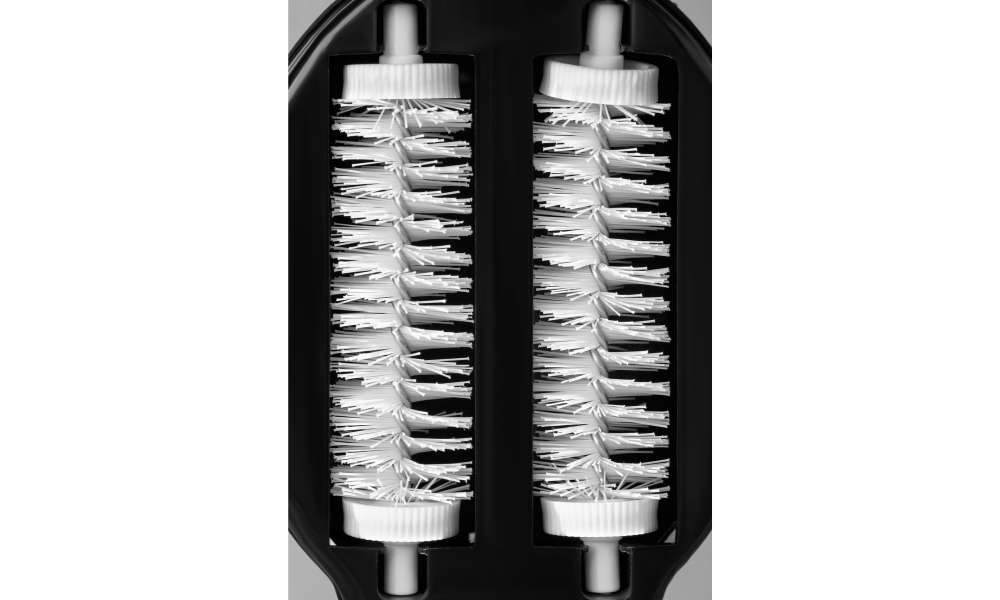
The brush roll is essential for agitating and picking up dirt from carpets and upholstery. Over time, it can accumulate hair, fibers, and other debris, which can impair its functionality. To clean the brush roll, start by turning your Bissell vacuum upside down to access the underside where the brush roll is located. Depending on your model, you may need to unscrew a few fasteners to release the brush roll cover. Use a screwdriver if necessary, keeping track of the screws.

Once the cover is removed, carefully lift out the brush roll. Then remove any tangled hair, threads, or debris wrapped around it. Scissors or a seam ripper can be very effective for cutting away materials entangled in the brush. Be careful not to cut the bristles of the brush roll. After removing the debris, inspect the bristles to ensure they are not too worn out. Worn bristles can significantly reduce the cleaning efficiency of your vacuum.
After cleaning, check the end caps of the brush roll and the area where it seats for any buildup of dirt or debris. Clean these areas thoroughly to ensure smooth rotation. Once everything is clean, reassemble the brush roll and the cover, ensuring all components are securely in place. Regular maintenance of the brush roll extends its life and ensures your vacuum performs well on various surfaces.
Step 6: Clean the Vacuum Head
After addressing the brush roll, focus on cleaning the vacuum head, which is crucial for maintaining direct contact with the surfaces you clean. Begin by wiping down the vacuum head using a microfiber cloth to remove dust and dirt. Ensure you pay special attention to the intake area where dirt and air enter the vacuum. Any blockages here can severely reduce the suction efficiency.
For deeper cleaning, particularly if you notice debris stuck in the crevices or around the rollers, use a soft-bristled brush to gently dislodge the dirt. This can help prevent scratching or damaging the vacuum head while thoroughly removing accumulated grime. If your model has any removable parts in the vacuum head, such as additional brushes or sliders, take these out and clean them separately under running water if they are washable, or simply wipe them with a damp cloth.
Finally, inspect the area for any wear or damage, such as cracks or broken pieces, which can affect the vacuum’s performance. If everything looks good, reassemble any parts you removed, making sure they fit securely back into place. Keeping the vacuum head clean not only helps in effective dirt pickup but also protects your floors from scratches or scuffs caused by dragging trapped debris.
Step 7: Inspect and Clean Internal Pathways
After taking care of the vacuum head and brush roll, it’s important to ensure that the internal pathways through which air and debris travel are clear. Start by inspecting the hose. Detach it from the vacuum if possible, and look through it to see if there are any obstructions. If you find any blockages, a long, rigid item like a broom handle can be gently used to push out the debris. Be cautious to avoid using sharp objects or excessive force, which could damage the hose.
Next, check the attachments and any additional wands or tools for clogs. Small tools can often be cleaned by tapping them gently on a hard surface to dislodge dust and debris, or by using a small brush to clean out tight areas. For stubborn clogs in crevice tools or other narrow attachments, a piece of stiff wire or a pipe cleaner can be effective.
Finally, examine the entry points where the hose and attachments connect to the main vacuum body. Dirt can often accumulate here, reducing the airflow and suction power of the machine. Use a damp cloth to clean these areas thoroughly, ensuring that air can flow freely through all parts of the vacuum. By maintaining clear internal pathways, you help your vacuum to operate at its best, maintaining strong suction and effective debris removal.
Step 8: Wipe Down the Exterior
Once the internal components and the vacuum head are clean, focus on the exterior of your Bissell vacuum cleaner. Keeping the outside of the vacuum clean not only maintains its appearance but also prevents dust and dirt from being transferred back onto freshly cleaned surfaces.
Start by using a slightly damp microfiber cloth to wipe down the entire exterior of the vacuum. This includes the main body, handle, and any dials or switches. Be careful around any electronic controls or openings to avoid moisture seeping into sensitive areas. For stubborn stains or spots, add a small amount of mild detergent to the cloth. Make sure to wring out the cloth well to prevent excessive moisture.
Pay special attention to any vents on the vacuum, as these can accumulate dust that might impede air flow. Use a dry, soft brush or a dusting attachment to gently clean these areas if they appear clogged.
Once you’ve thoroughly wiped everything down, use a dry cloth to buff the surface, removing any moisture to prevent streaks. This not only keeps your vacuum looking good but also helps in preventing the spread of dust and allergens the next time you use it.
Step 9: Reassemble and Store It Properly
After all components of your Bissell vacuum cleaner are clean and dry, it’s time to reassemble and store the unit properly. Begin by ensuring that all parts, especially the filters and the dust bin, are completely dry before putting them back into the vacuum. Moisture left in these parts can lead to mold or mildew growth, which can be harmful and affect the vacuum’s performance.
Carefully replace the filters in their designated spots, ensuring they are seated correctly and securely. Reattach the dust bin, making sure it clicks into place, indicating it’s locked and secure. If you removed the brush roll, make sure it rotates freely once reinstalled, and that no tools or screws are left out.
Once the vacuum is reassembled, store it in a clean, dry place. Avoid places with high humidity or extreme temperatures to protect the vacuum’s electronic components and plastics from damage. If your vacuum has a cord, coil it loosely to avoid kinks or strain on the wire. If possible, store the vacuum in an upright position to save space and prevent any undue stress on the components.
Proper reassembly and storage are key to ensuring that your Bissell vacuum cleaner is ready for its next use, with all parts functioning as they should for optimal cleaning performance. Regular maintenance like this not only extends the lifespan of your vacuum but also maintains its efficiency, making your cleaning tasks easier and more effective.
Conclusion
Regularly cleaning and maintaining your Bissell vacuum cleaner is essential for ensuring it operates at peak performance. Also if you know how it works, you’ll be able to take care of it further more. By following the detailed steps outlined from unplugging the vacuum and emptying the dust bin to cleaning the filters, brush roll, and exterior you can significantly extend the life of your vacuum while maintaining its efficiency. Each step, including proper reassembly and storage, contributes to a cleaner, healthier home environment by preventing the recirculation of dust and allergens. Remember, the effort you put into caring for your vacuum reflects directly on its performance. With this comprehensive guide, your Bissell vacuum is well-equipped to provide powerful, effective cleaning for years to come.
